


Latest Version
Version
5.07
5.07
Update
June 21, 2025
June 21, 2025
Developer
Geeky Medics
Geeky Medics
Categories
Medical
Medical
Platforms
Android
Android
Downloads
0
0
License
Free
Free
Package Name
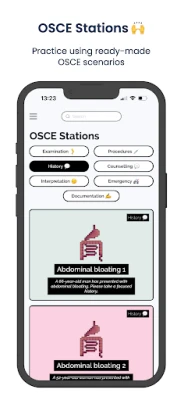
Geeky Medics - OSCE revision
Geeky Medics - OSCE revision
Report
Report a Problem
Report a Problem
Download Geeky Medics - OSCE revision for Windows PC 7/8/10, Mac Laptop / Desktop
Are you looking for Geeky Medics - OSCE revision for Windows 7/8/10 download instructions? Then you've come to the right place. Most of the mobile apps are exclusively developed to work with mobile phones.
But we love to use them on larger screens such as Windows Laptop / Desktop as it gives easy and faster access than a small mobile device.
Few apps provide the larger screen versions that support windows, mac, and PC by default. But when there is no official large screen support, we need to find a way to install and use it. Luckily we have got you a few methods that can help you to install and use Geeky Medics - OSCE revision in Windows - 7/8/10, Mac, PC.
Here in this article, we have listed a few different ways to Download Geeky Medics - OSCE revision on PC/Windows in a step-by-step guide. Try them out and enjoy Geeky Medics - OSCE revision on your PC. If you have any questions or face any issues, please let us know by posting in the comment section below .
MOST ASKED Geeky Medics - OSCE revision PROBLEMS AND TROUBLESHOOTING STEPS.
Geeky Medics - OSCE revision Download for PC Windows 7/8/10 – Method 1: (Recommended 🔥)
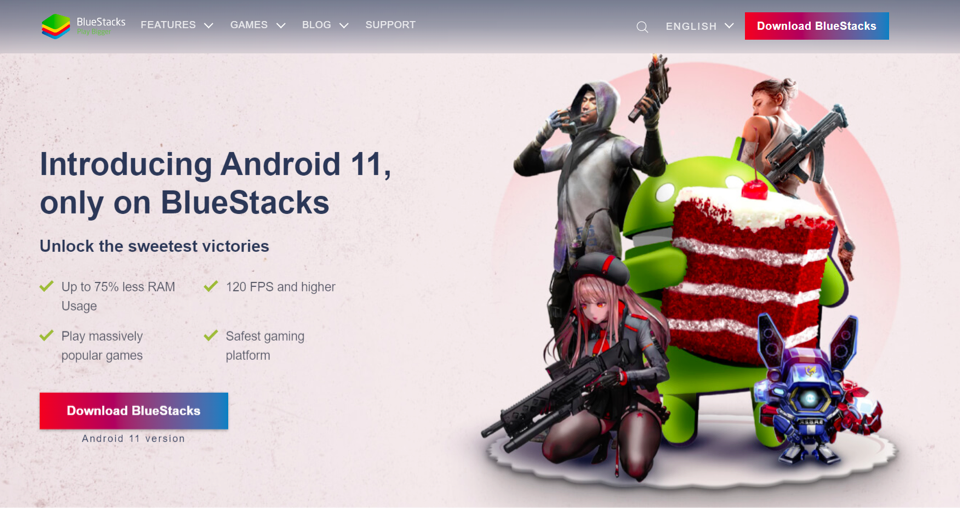
In this first method, we will use BlueStacks Emulator to install and use the mobile apps. So here is a little detail about Bluestacks before we start using them.
BlueStacks is one of the earliest and most used emulators to run Android applications on your Windows PC. It supports a wide variety of computer and laptop versions including Windows 7/8/10 Desktop / Laptop, Mac OS, etc. It runs apps smoother and faster compared to its competitors. So you should try this method first before trying other methods as it is easy, seamless, and smooth.
So let's see how to download Geeky Medics - OSCE revision for PC Windows 7/8/10 Laptop/Desktop and install it in this step-by-step method.
1:Open the BlueStacks website by clicking this link - Download BlueStacks (Recommended 🔥)
2:Once you open the website, you will find a green color "Download BlueStacks" button. Click it and it will start the download based on your OS.
3:After the download is complete, please install it by double-clicking it. Installation is as simple and easy as any other software installation.
4:Once the installation is complete, open the BlueStacks software. It may take some time to load for the first time. Just be patient until it completely loads and is available. You will see the home screen of Bluestacks.
5:BlueStacks comes with Google play store pre-installed. On the home screen, double-click the Playstore icon to open it.
6:Now you can search the Google Play store for Geeky Medics - OSCE revision app using the search bar at the top. Click "Install" to get it installed. Always make sure you download the official app only by verifying the developer's name. In this case, it is "Product Engg".
7:Once the installation is over, you will find the Geeky Medics - OSCE revision app under the "Apps" menu of BlueStacks. Double-click the app icon to open and use the Geeky Medics - OSCE revision in your favorite Windows PC or Mac.
Geeky Medics - OSCE revision Download for PC Windows 7/8/10 – Method 2:
If the above method doesn't work for you for some reason, then you can try this method - 2. In this method, we use the MEmuplay emulator to install Geeky Medics - OSCE revision on your Windows / Mac PC.
MemuPlay is simple and easy-to-use software. It is very lightweight compared to Bluestacks. As it is designed for gaming purposes, you can play high-end games like Freefire, PUBG, Temple Run, etc.
1:Open the Memuplay website by clicking this link - Download Memuplay Emulator
2:Once you open the website, you will find a big "Download" button. Click it and it will start the download based on your OS.
3:After the download is complete, please install it by double-clicking it. Installation is as simple and easy as any other software installation.
4:Once the installation is complete, open the Memuplay software. It may take some time to load for the first time. Just be patient until it completely loads and is available.
5:Memuplay also comes with the Google Play store pre-installed. On the home screen, double-click the Playstore icon to open it.
6:Now you can search the Google Play store for Geeky Medics - OSCE revision app using the search bar at the top. Click "Install" to get it installed. Always make sure you download the official app only by verifying the developer's name. In this case, it is "Product Engg".
7.Once the installation is over, you will find the Geeky Medics - OSCE revision app under the "Apps" menu of Memuplay. Double-click the app icon to open and use the Geeky Medics - OSCE revision in your favorite Windows PC or Mac.
Hope this guide helps you to enjoy Geeky Medics - OSCE revision on your Windows PC or Mac Laptop. If you face any issues or have any questions, please comment below.
Rate the App
Add Comment & Review
User Reviews
Based on 0 reviews
No reviews added yet.
Comments will not be approved to be posted if they are SPAM, abusive, off-topic, use profanity, contain a personal attack, or promote hate of any kind.


More »

Popular Apps

VPN proxy - TipTop VPN TipTopNet

Rakuten Viber Messenger Viber Media

Turboprop Flight Simulator Pilot Modern Prop Planes

Yandere Schoolgirls Online Sandbox Multiplayer HighSchool

Highway Bike Traffic Racer 3D Motorcycle Rider Driving Games

SchoolGirl AI 3D Anime Sandbox Kurenai Games

Spirit Chat Grenfell Music

KakaoTalk : Messenger Kakao Corp.

ZOMBIE HUNTER: Offline Games 3D Shooting Apocalypse Gun War

Endless Learning Academy ABC,123,Emotions (Kids 2-5)
More »
Editor's Choice

Belet Video JAN tehnologiýa
VPN proxy - TipTop VPN TipTopNet
Highway Bike Traffic Racer 3D Motorcycle Rider Driving Games
ZOMBIE HUNTER: Offline Games 3D Shooting Apocalypse Gun War
Endless Learning Academy ABC,123,Emotions (Kids 2-5)
Spirit Chat Grenfell Music
Yandere Schoolgirls Online Sandbox Multiplayer HighSchool

JP Schoolgirl Supervisor Multi Saori Sato's Developer
SchoolGirl AI 3D Anime Sandbox Kurenai Games
 Android
 IOS
IOS Windows
 Mac
Mac Linux
Linux